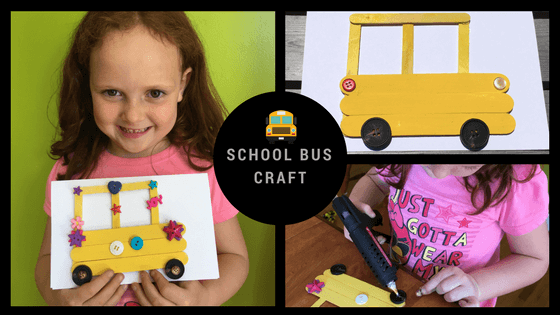
School Bus Craft
SIMPLE SCHOOL BUS CRAFT
We made this quick school bus craft as an end-of-year thank you for our bus driver and teacher, but it would also be a great off to school project!
The supplies are fairly simple:
- Four craft sticks
- Three larger craft sticks
- Yellow paint
- Buttons (we used two black, one red, one white)
- Glue gun
- Cardstock (optional)

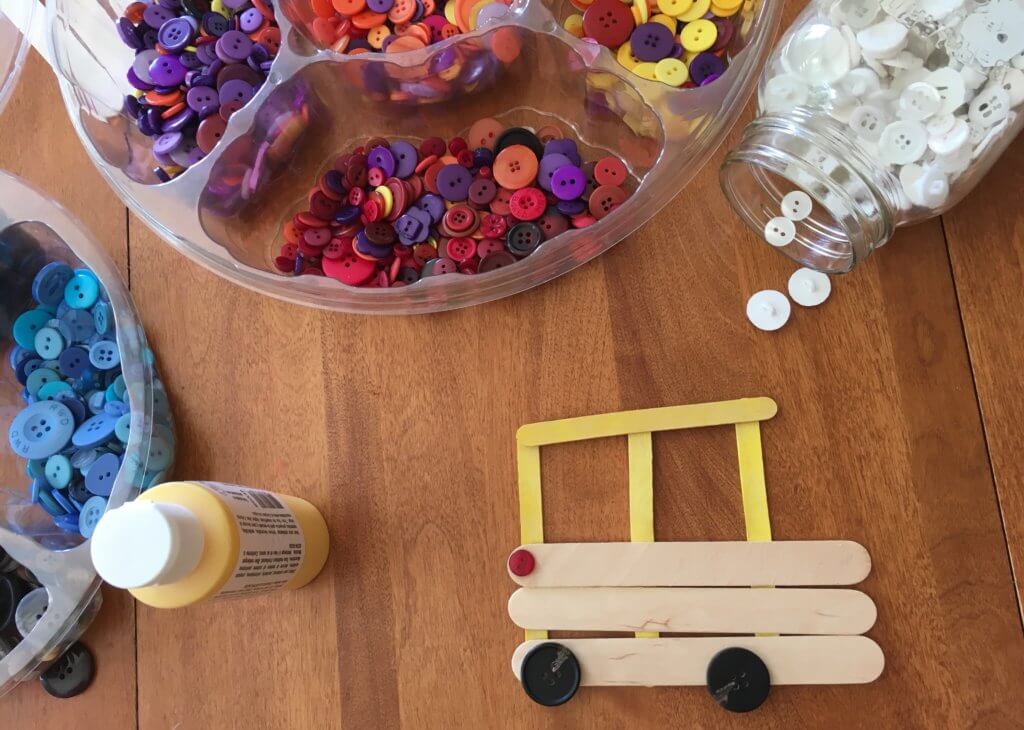
The directions are easy, too!
- Glue three of the skinnier craft sticks, equally spaced, along the fourth skinnier one, like an E. Turn it so the sticks are pointing down.
- Glue the three larger craft sticks across the bottom of the other sticks.
- At this point, you should paint the sticks and let them dry.
- We picked out two big, black buttons for the wheels, a small red for the rear lights, and a small white for the front.
That’s it – you’ve made a school bus! We glued ours to a folded piece of 8×10 cardstock to make it a thank you card for the end of school.

Of course, my vision was nowhere near as creative as that of a kindergartener! I hope her teacher and her bus driver smile as big as this when they see their thank you cards on the last day of school.
RELATED: Tips for preparing children for school
Have a little one heading off to school in the fall? This would be a great craft to do together while talking about the upcoming changes. (You could send this along with a little coffee gift card to start things off on the right foot with the bus driver!) You might also want to check out our list of practical tips and skills to focus on before the big day.