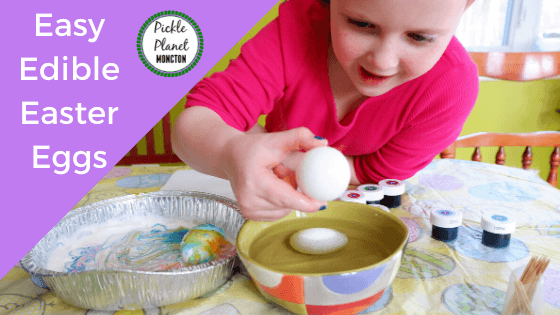
How to decorate edible whipped cream dyed Easter eggs
Do you hate wasting eggs when you decorate them for Easter – but can’t get a handle on the whole ‘blowing the insides out‘ trick? Me too! So we loved discovering that you can decorate with whipped cream!
RELATED: How to make a stunning, simple Easter Banner in 5 minutes for under $5!
Yes, Whipped Cream Dyed Eggs are simple to make, fun to look at, and safe to eat!
Supplies you’ll need for Whipped Cream Dyed Eggs
- Eggs – you’re going to want to hard boil these; we use the Betty Crocker instructions.
- Whipped Cream – any kind will work, really – we opted for some fun spray can style!
- Food colouring – again, any kind will do, but we love the Wilton gel colours for their vibrancy & how long they last.
- Vinegar – We’ve seen some folks do this process without this step, so I guess it’s optional, but I like it.
- Two dishes; one to hold vinegar, one to hold whipped cream.
MUST READ: HOW TO BAKE A SIMPLE EASTER BUNNY CAKE

Instructions for Whipped Cream Dyed Eggs
Hard boil the eggs. Should take about 20 minutes or so; I wouldn’t start the rest of the project until the eggs are ready.
Prepare a bowl with vinegar; it needs to be deep enough to submerge the eggs. Sit the eggs in the vinegar for about two minutes. (This step will help make your colours more vibrant, so if you’re okay with reeeeaaaallly light colours – or just short on vinegar, feel free to skip this.)

Fill a container with whipped cream; you can use a glass pan, a baking dish, etc. (If you want to keep the colours from combining too much, try My Baking Addiction’s Jamie’s method of placing the whipped cream and food colouring in muffin tins. I love this idea! (She also skips the vinegar step.)
Swirl your food colouring into the whipped cream. I’d advise against swirling too many together, or you’re likely to end up with some brown coloured eggs, which really aren’t that festive!

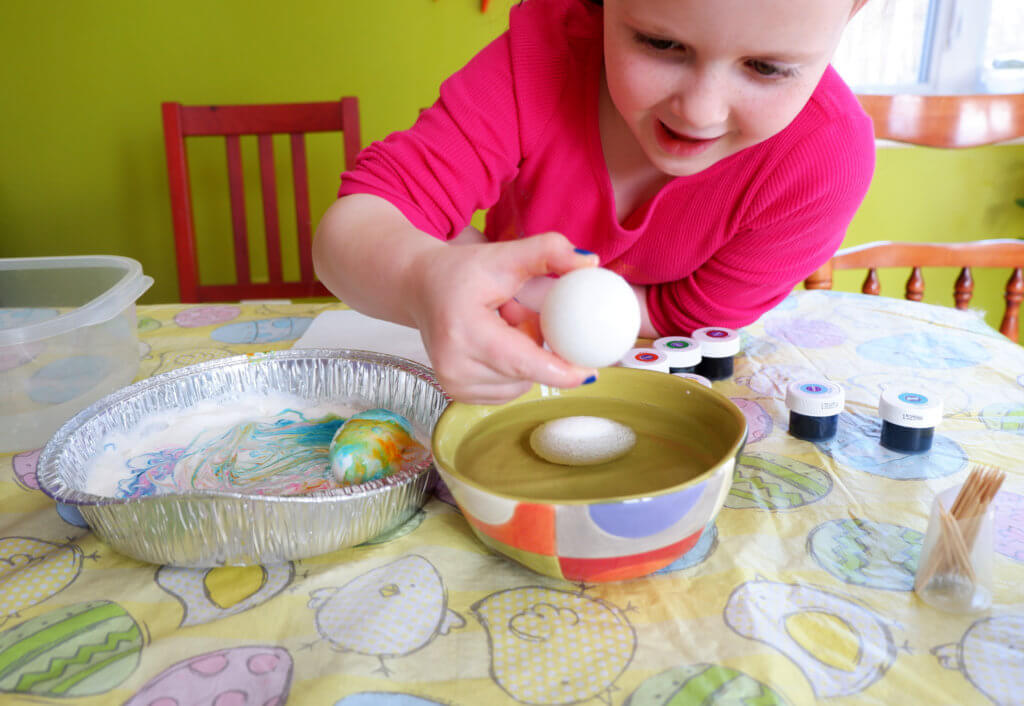
Dry off your eggs on paper towel.
Roll your eggs through the coloured whipped cream. Avoid the temptation to roll them back & forth; one twist through is all you really want, or the colours will mix too much.

Let the eggs sit, with the whipped cream on them, for about 10 minutes or so.
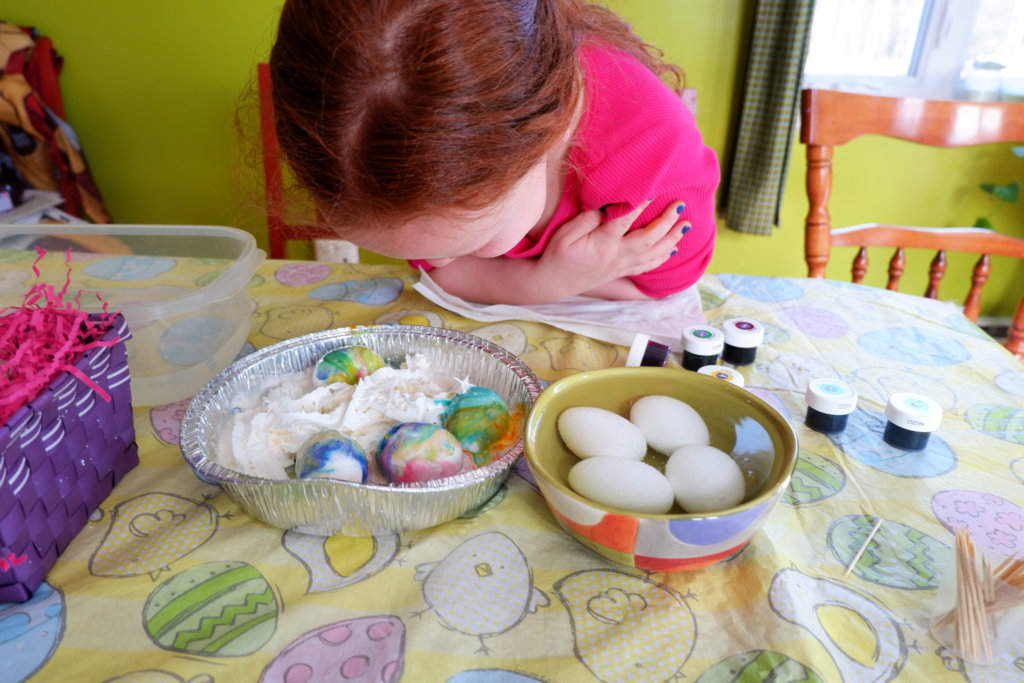
Wipe off the eggs; you might want to give them a quick rinse under cold water.

That’s it! You can display your lovely eggs or tuck them in the fridge to eat later. We opted to admire them just for a little bit before peeling them and enjoying!

Thanks to Spend With Pennies for the inspiration for these edible Easter eggs; I think that’s the first place we saw this, anyway! Enjoy your own creative time & please let us know if you try this method!!
Here are a few other Easter projects you might enjoy!