
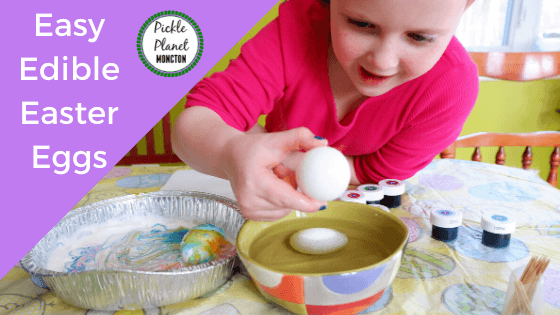
Easy Easter DIY Banner
This easy Easter DIY banner is the focus of our family Easter decorations – and has been for five years! It costs less than $5 and takes about five minutes solo … or five hours if you’ve got little helpers. Just kidding! That’s just at my house.
A preschool or kindergarten student could do this awesome fine-motor skill building activity self-directed in a half-hour quiet crafting session. And there’s so much room for personal expression! The supplies are easy, too.

Supplies
- Plastic twine (we call it fishing line in my house)
- Plastic eggs with holes
- Scraps of fabric/ribbon (cut in strips 10-15cm long)
That’s it!
You want to use plastic twine; I tried to recreate this banner using yarn, thinking it would be prettier, and it was much, much harder to thread the eggs on – and it didn’t look as nice!
Little ones (at least mine – and me!) will likely get frustrated with the project if you don’t have plastic twine. Because it’s stiffer than yarn, the plastic twine slides easily through the holes in the tops of the eggs. This makes all the difference!
The eggs I found for under $3 at a department store. There were 48 in the package; I used 14 of them and our banner covers more than six feet. You might want to keep things tight, which would require using more of the eggs than I did, or you might want to mix and match a few styles of eggs. You could also paint a few of the plain coloured ones with your own polka dots or glitter to mix it up without buying extra bags. Either way, you likely won’t use the full package – and read to the end for a fun idea of what to do with the leftovers!
I used scrap fabric and ribbon I found around the house. Some pieces were ribbons that had been on clothes and gifts the kids’ received. Others were cut from a pair of silky PJs that had suffered an injury. I also like to pick up the little ends of rolls in the bargain bin by the cash at the fabric store. You can be as matchy-matchy or as crazy kaleidoscope as you want when it comes to the ribbon/fabric – and you can use as many strips as you fancy. I’d go for at least two pieces between each egg, so if you go with 20 eggs, cut at least 40, but feel free to go wild and add 60!
My rule with crafts, especially ones in which I want the kids to be involved, is to keep it simple – and NOT to start with a serious idea of what it will look like in the end. A rough idea is good, but getting too caught up on the details often decreases our fun, as my anxiety rises when the kids take things off script. If you want control over the pattern and are seeking perfection in the finished project, I vote for two banners: one where they can do as they wish with the materials provided, another where you can follow your vision without interruption. And with the price tag of this easy Easter banner, you can easily do both!

Instructions
- Decide how long a space you want your banner to cover and cut your twine accordingly.
- Make a loop on one end. Tie one of your fabric/ribbon strips next to the knot, so that it will stop the eggs from sliding off the end.
- Next, we slipped ALL our eggs onto the twine and tied a knot on the other end, again adding two fabric/ribbon strips to keep the eggs from sliding back off.
- Then, we went back and tied two scraps of ribbon between each egg. The plastic twine/fishing line makes it easy to move things around and tweak your pattern and spacing.
That’s it! Honestly, this is one of my all-time-favourite DIY projects I’ve made for the holidays – and I’ve made A LOT!
Bonus: With your leftover eggs, create a fun lunch! This has become an annual tradition in our house and is always a huge hit. Great for helping ‘trick’ picky eaters, too. They’re too excited about wondering what’s in the eggs to complain about the meal!

If you make your own Easy Easter DIY Banner, I’d love to see a photo in the comments or on the Pickle Planet Facebook page! And for more healthy snack options, check out this post from Certified Holistic Nutritional Consultant – and mom to two – Katie Gillingham.


Great craft for kids. Love the ribbons!
Thank you! We enjoy this craft so much!